How to use Data Leaks page?
How to use Data Leaks page?
A data leak (also known as a data breach) is an incident where confidential or sensitive information is accessed, viewed, stolen, or released without authorization. Data leaks can occur in various forms, including digital and physical, and can affect individuals, organizations, or government entities. NVADR offers a data leak detection feature that thoroughly searches your organization's IT network to identify all instances of exposed sensitive data. Through continuous scans and identification of data exposure, this feature is an effective tool to enhance your organization's data security.
To read more about data leaks, please refer to this article - What is a Data leak?
What are signature filters and how to apply them?
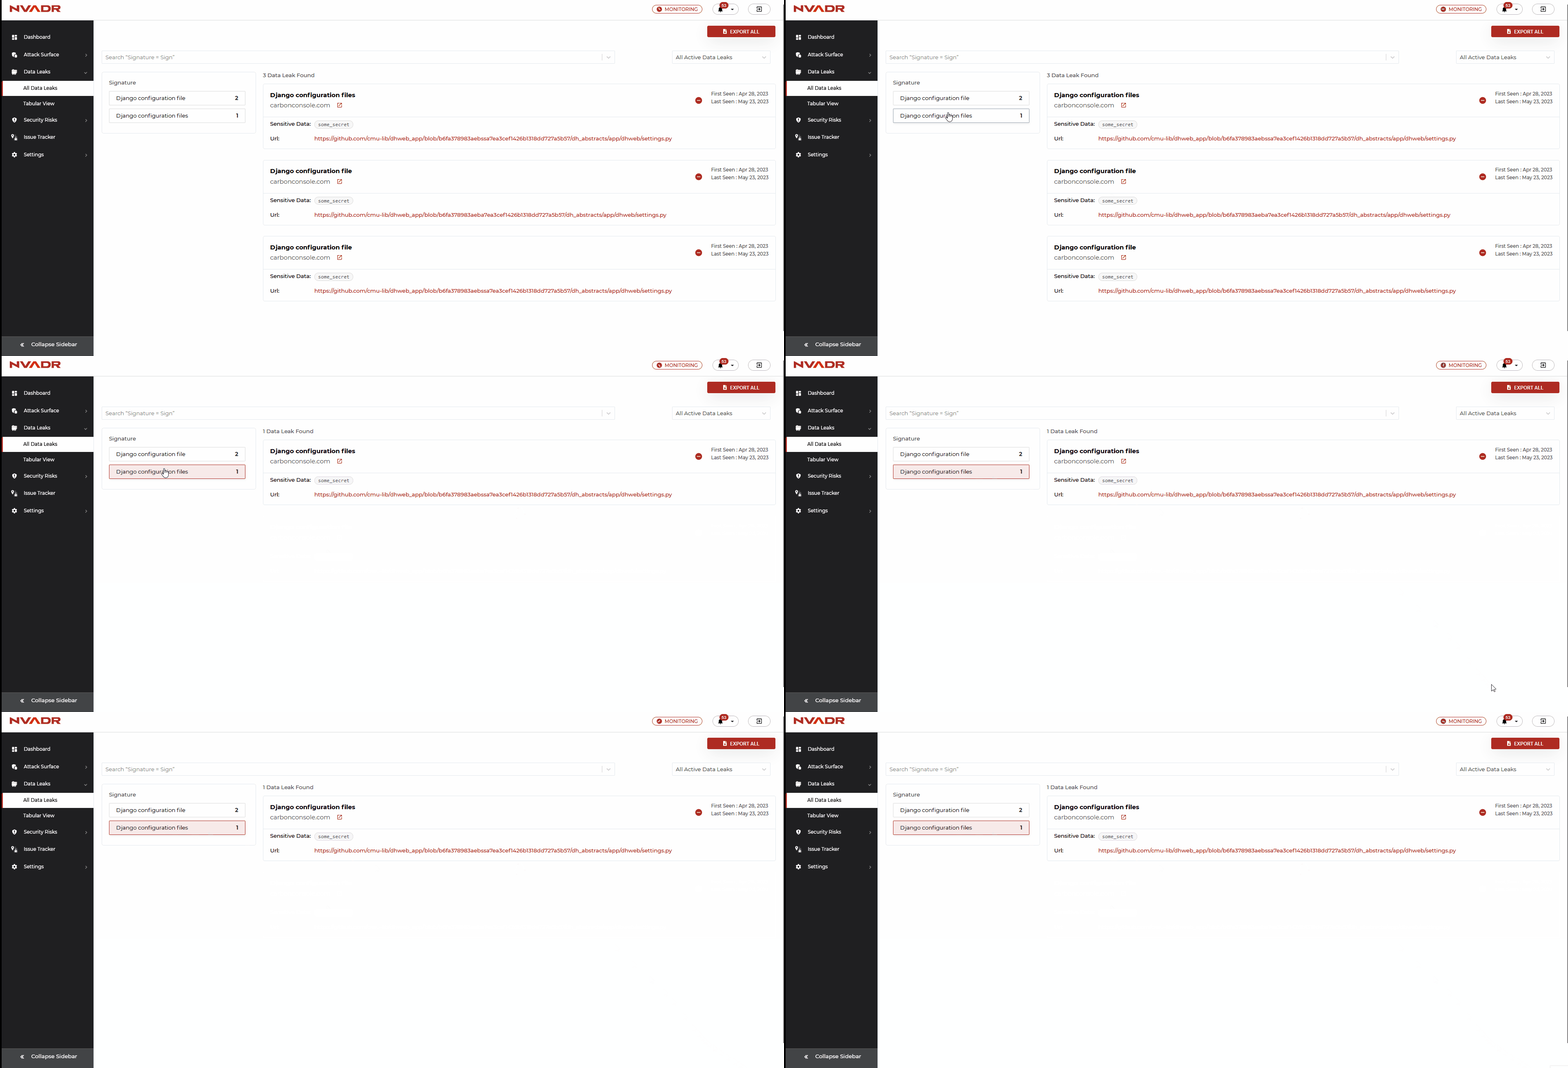
- NVADR offers a series of signature filters that are pre-defined and serve as distinct categories for sorting data leaks.
- These filters are organized based on the most frequently occurring data leaks and are readily available on the left-hand side of the data leaks screen.
- Each identified signature filter is listed there, and by selecting a particular filter, you can view all the related data leaks.
- Simply click on the signature filter for which you wish to view the data leaks, and all relevant data leaks under that signature will be presented.

What are the features available under the ‘All Data Leaks’ layout?
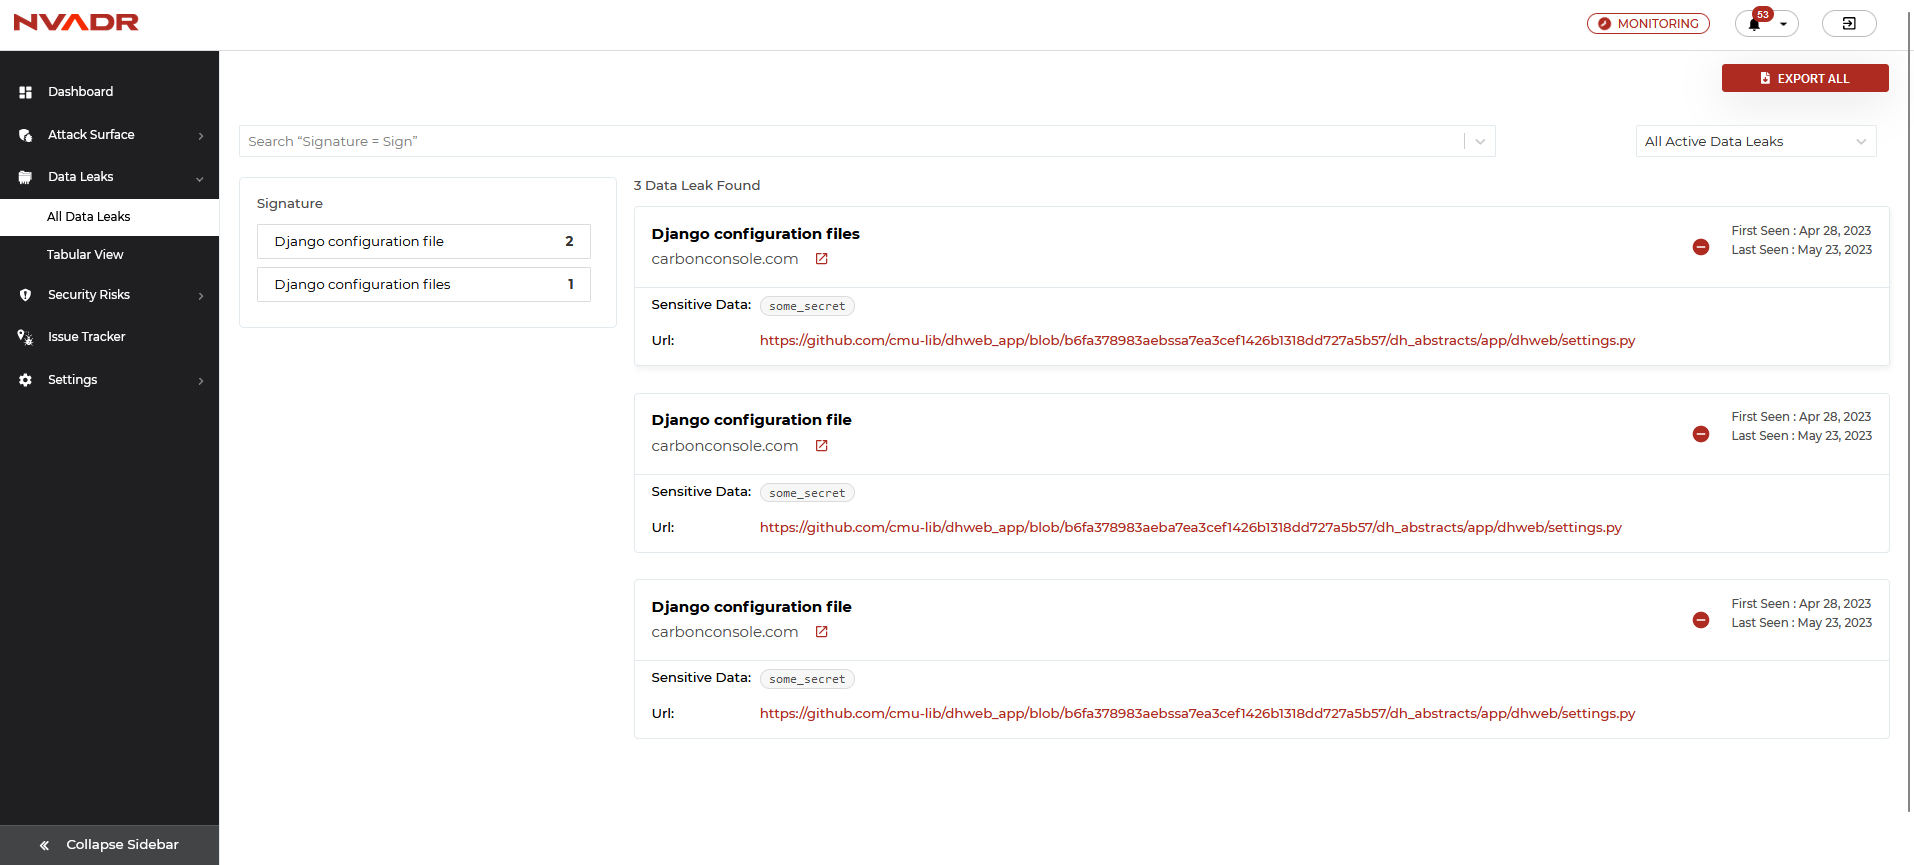
- This platform showcases the data leak instances in a list format.
- The information presented can be sorted using filters based on the instance category and scan status.
- Additionally, you have the opportunity to mute a specific instance or view the platform that has exposed the data. It's worth noting that the option to mute an instance is exclusively available under the list layout.

What are the features available under the ‘Tabular view’ layout?
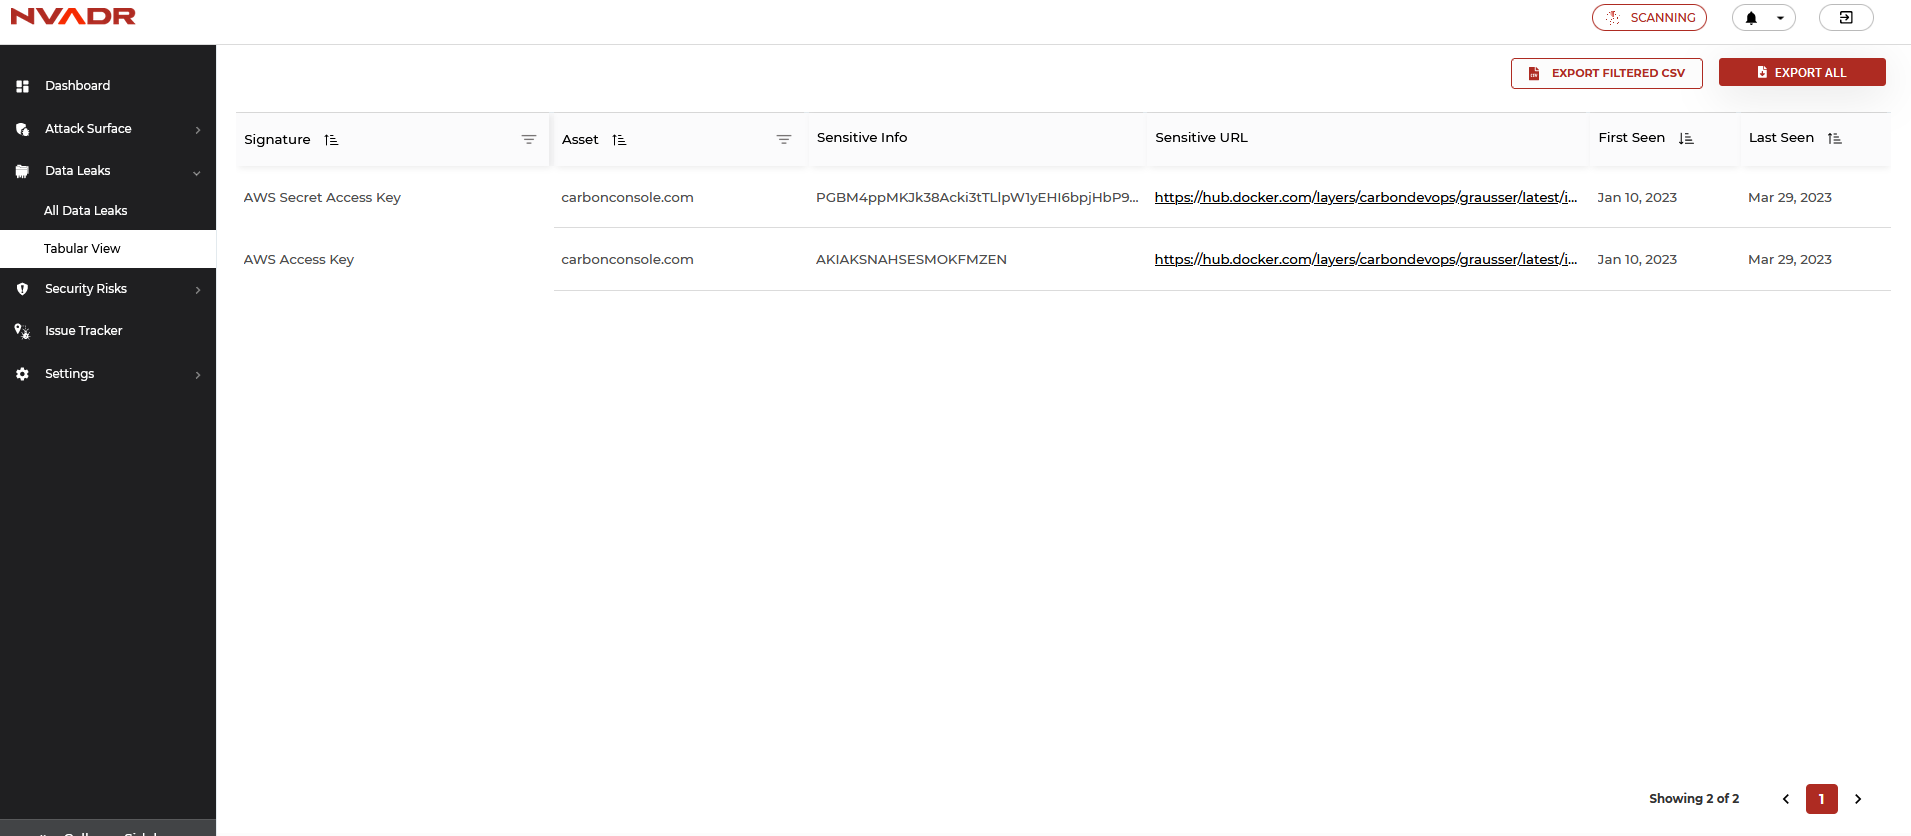
- The table layout presents the data leak instances in a row and column structure, which is intended to provide analysts with a more user-friendly interface. It's important to note that both the list and table layouts contain identical information.
- Users are also able to filter the data based on asset names or signatures.

How to mute a data leak instance?
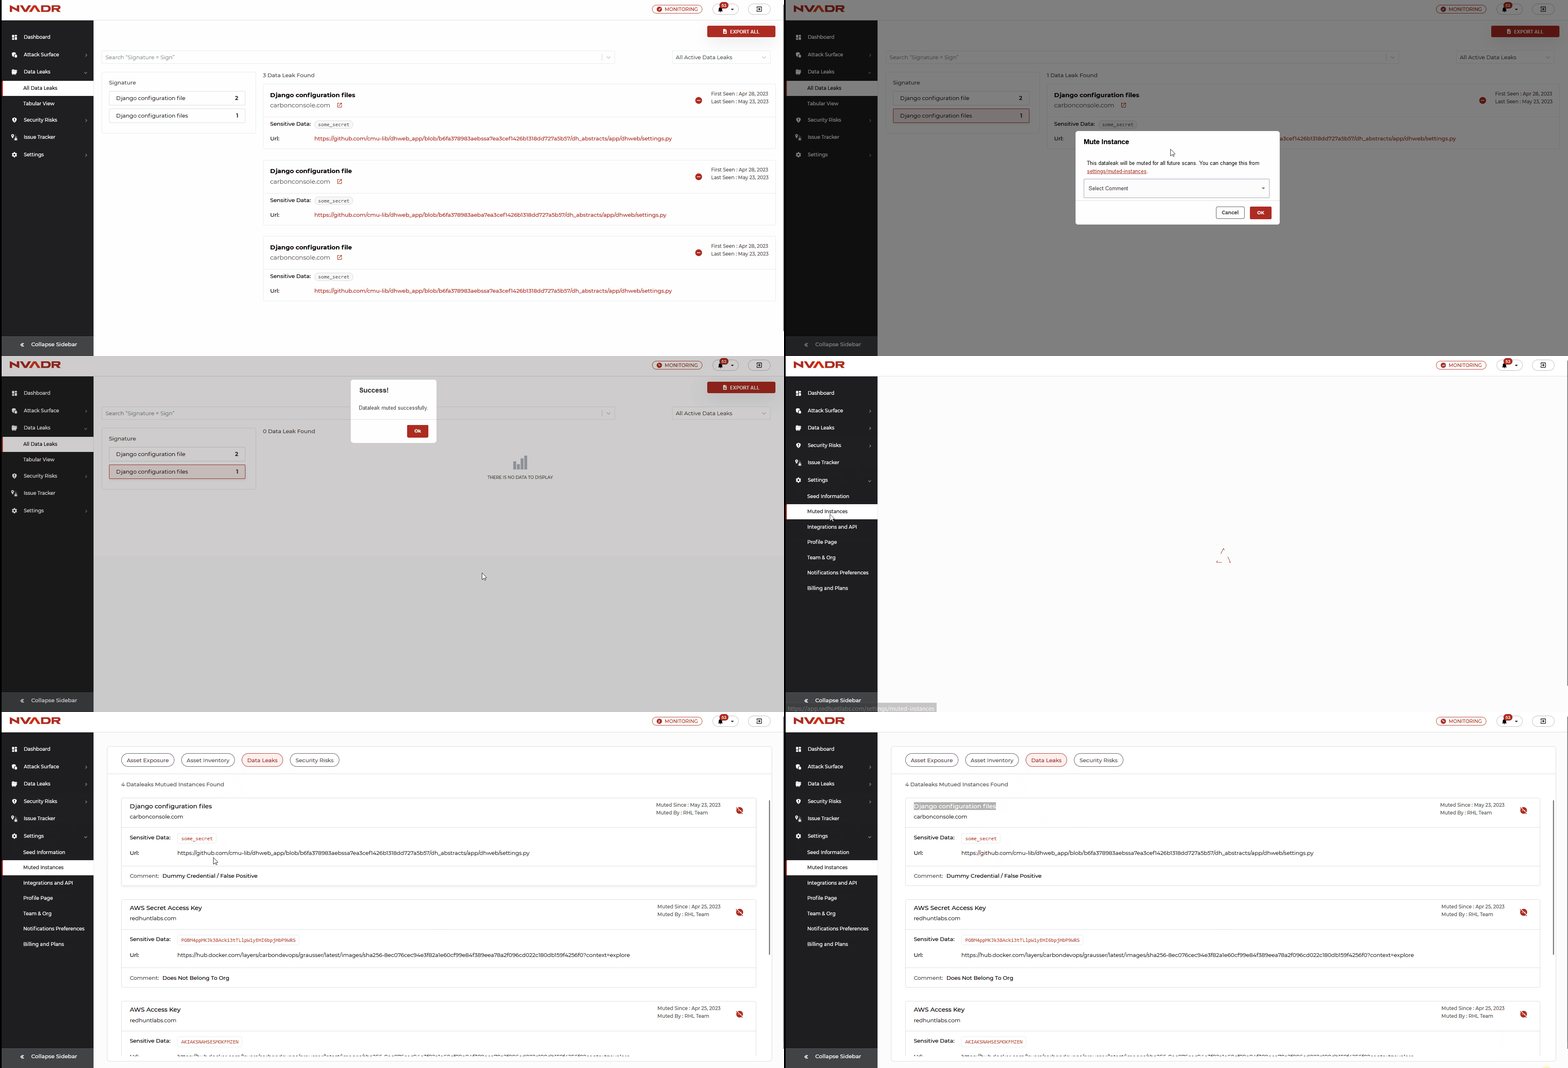
- Go to List layout under the Data Leaks section.
- In the list layout, a ‘mute’ icon is at the right corner of each instance.
- To mute an instance, click on the ‘mute’ icon.
- The mute instance pop-up appears. The pop-up will ask you to select a reason why you want to mute the instance and a link to unmute the instance. The link directs the user to settings where the muted instances can be deleted (to unmute).
- Click OK to confirm. The user is notified with a success pop-up notification.
- Once an instance has been muted the user will not be notified about the same during the upcoming scans.


